
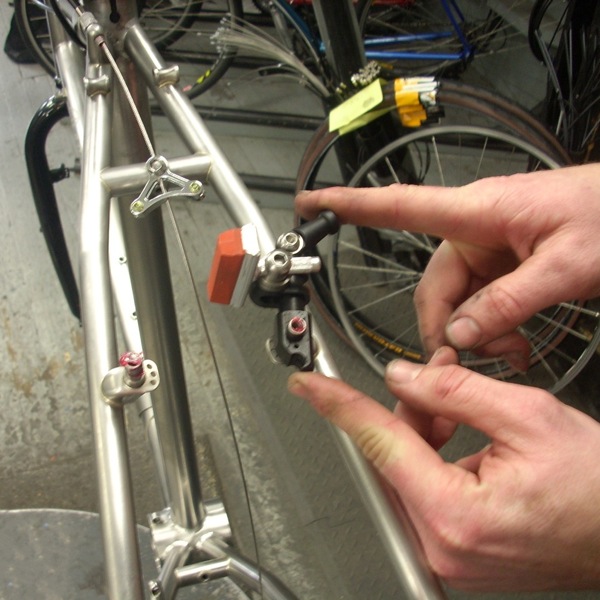
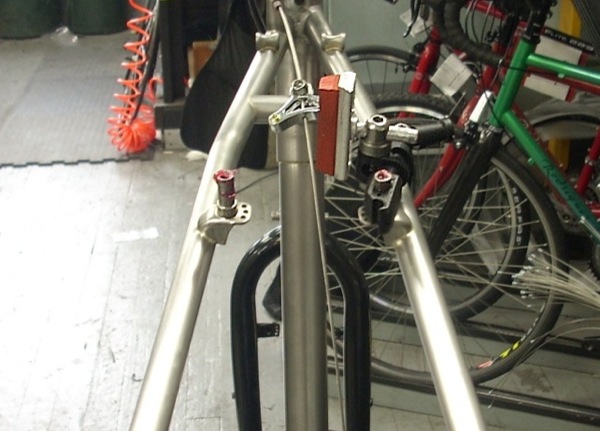
2.) Slide the spring and spring tension cap into place. **The blue spring goes on the left side as you are facing the brakes.**
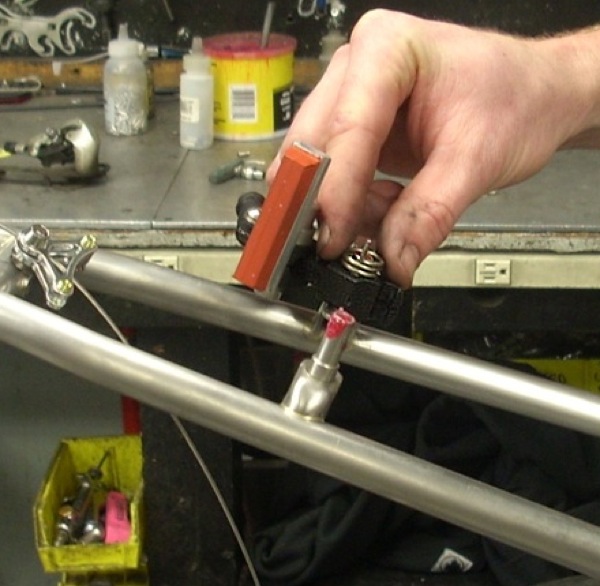
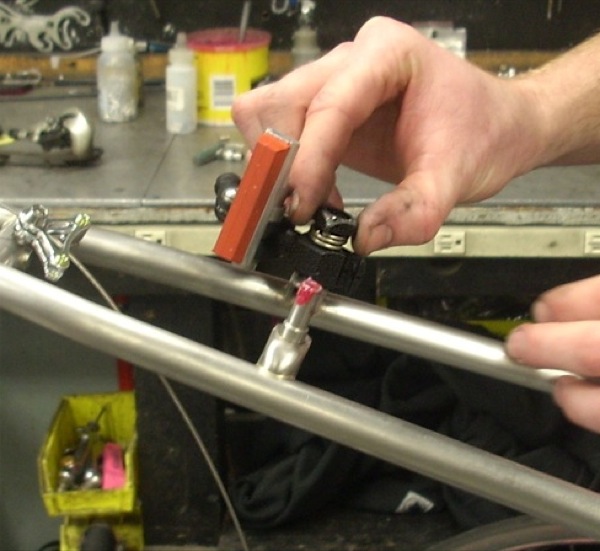
3.) Tighten the arm in place after greasing the bolt threads and bolt head.
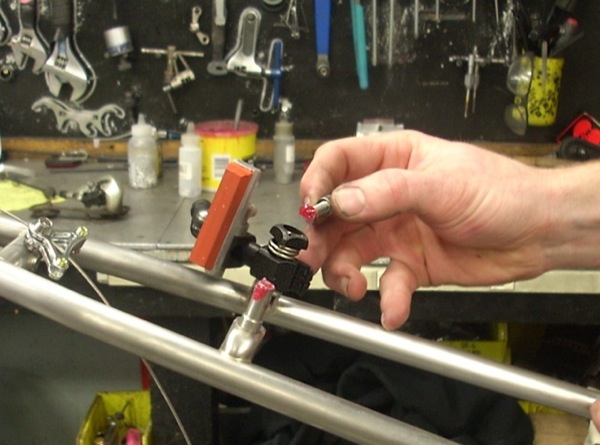
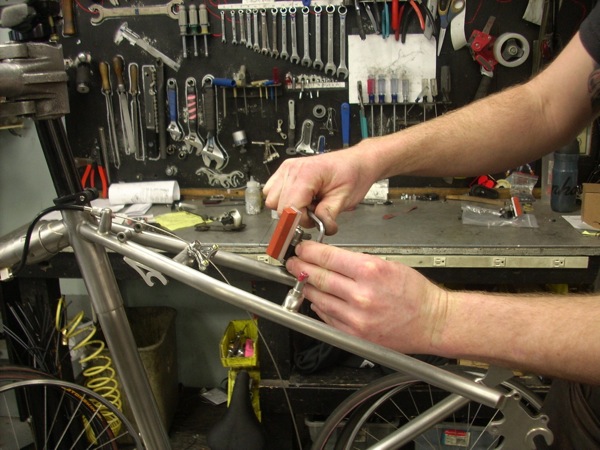
4.) Repeat with the other side. Remember, the blue spring goes on the left when facing the brake.
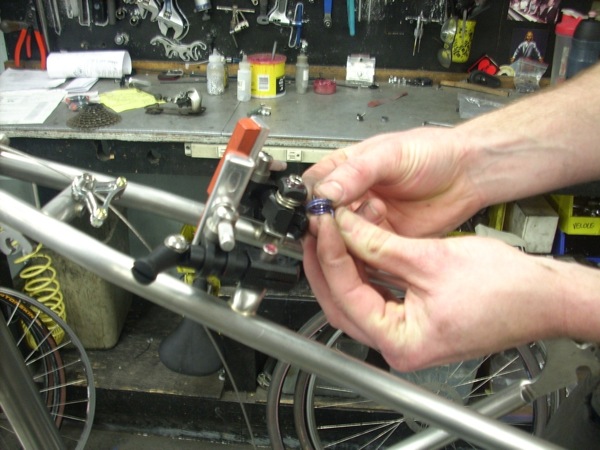
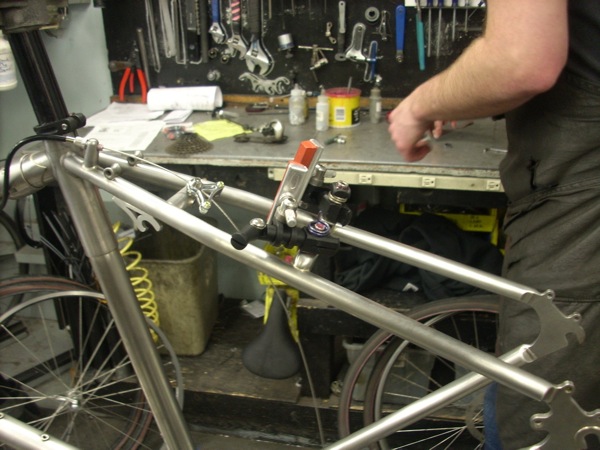
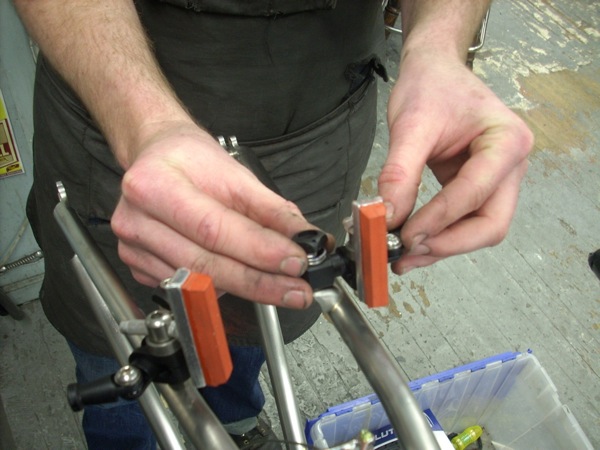
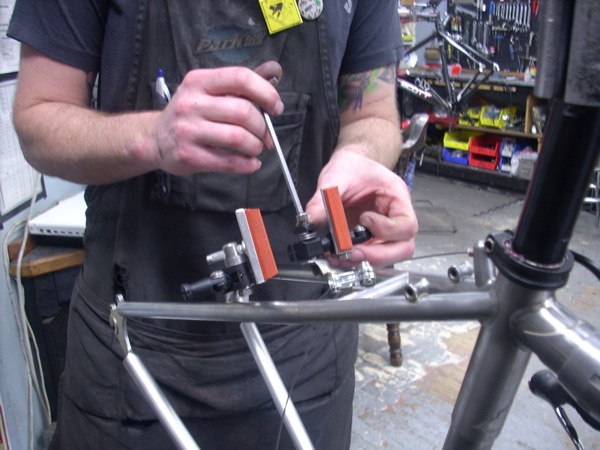
It should look like this now:
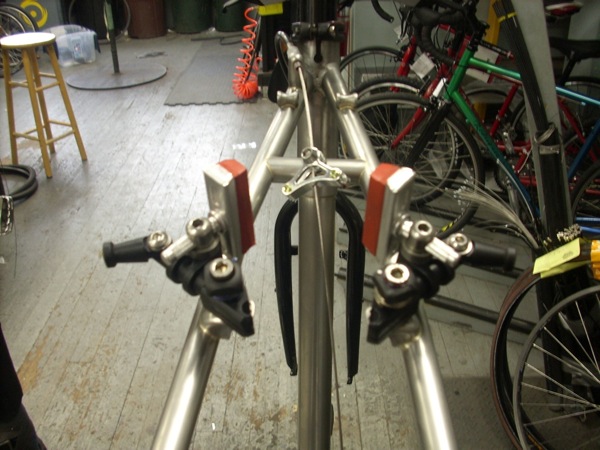
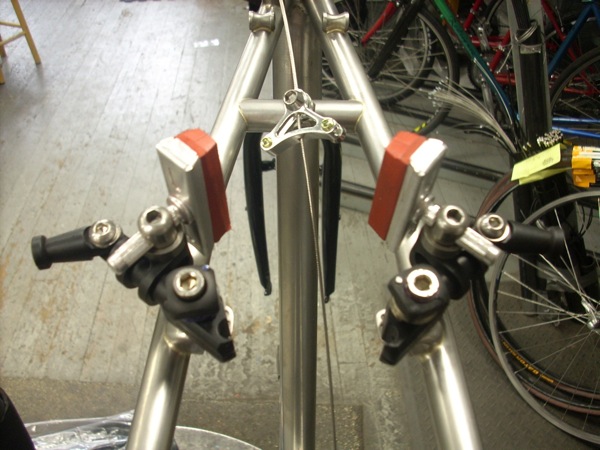
6.) Run the straddle cable (which is a mountain bike brake cable) through the straddle saddle.
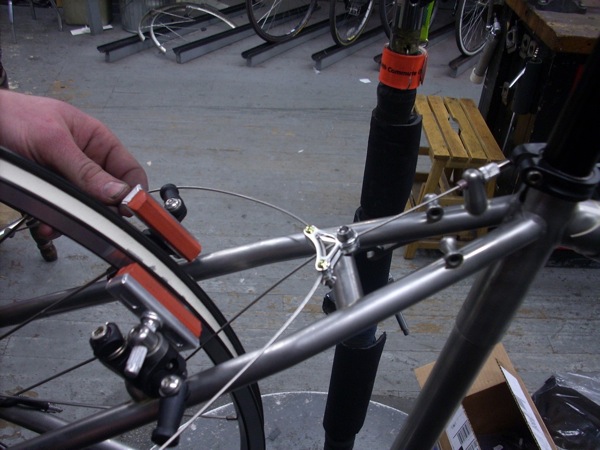
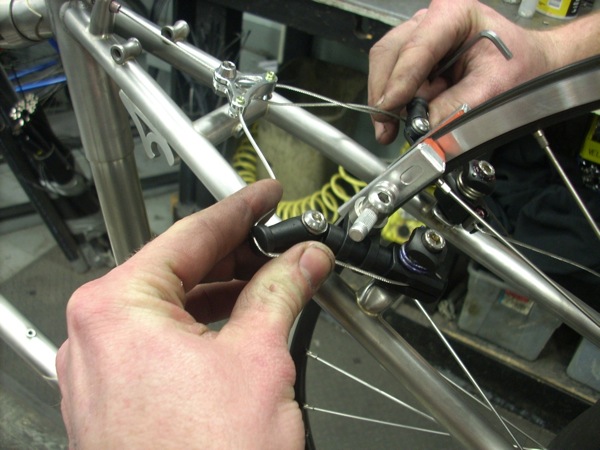
7.)Attach the cable to the bottom of one arm through the guide in the adjustable arm.
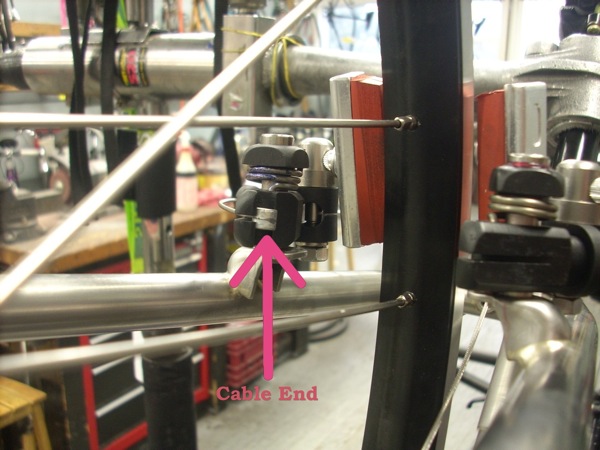
8.)Tighten the bolt-on cable end to adjust the cable at the bottom of the brake arm.
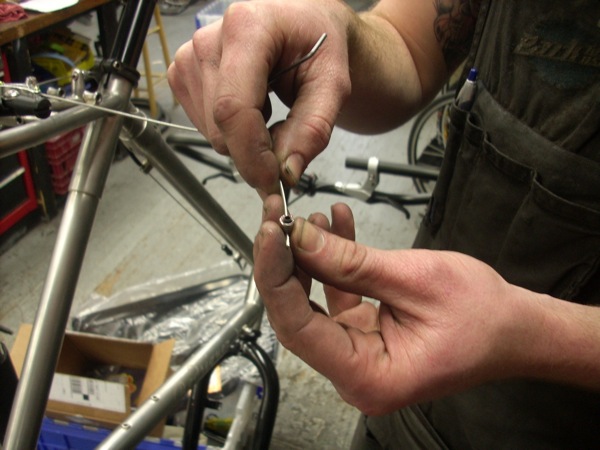
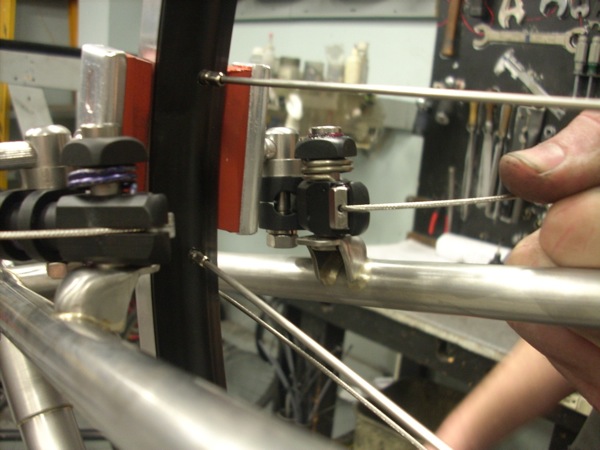
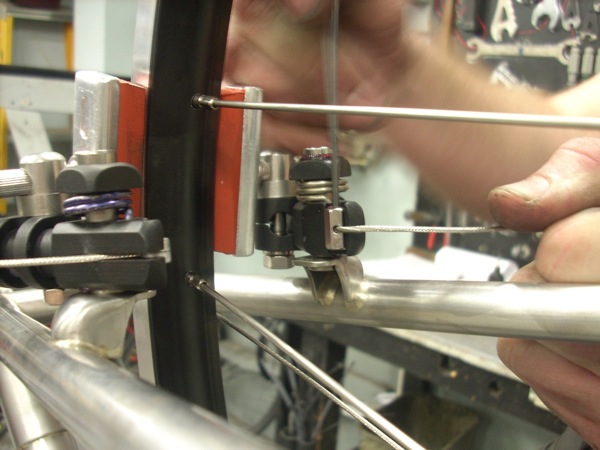
9.) Put a 16mm open wrench on the tension cap.
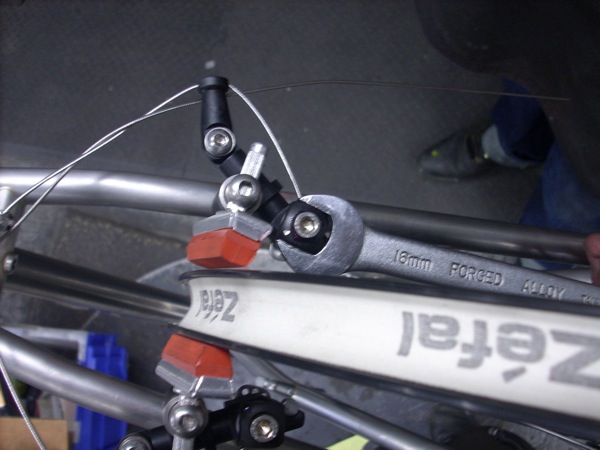
10.) Put a 5mm hex wrench on the bolt to loosen the stud bolt slightly.
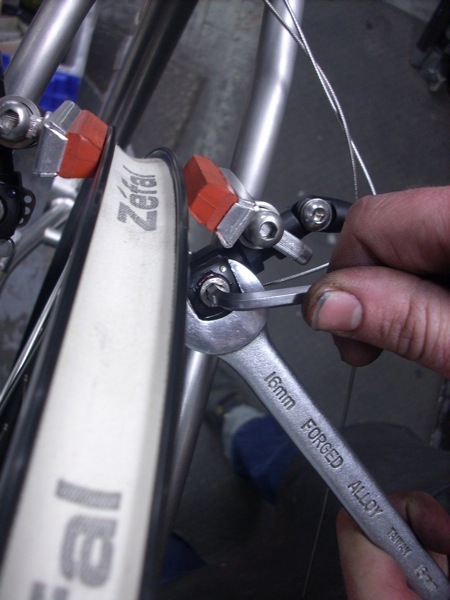
11.) While holding the 5mm wrench static, turn the 16mm wrench on the tension cap away from the wheel until the spring peg hole on the cap is straight above the mounting bolt.
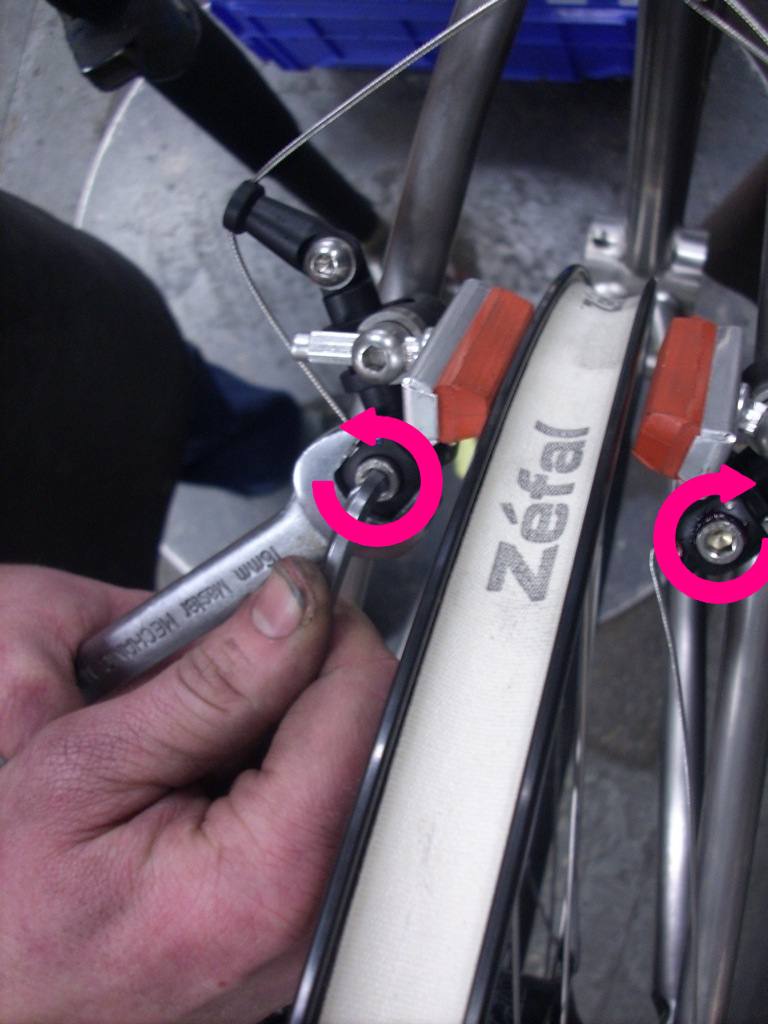
12.) Tighten the stud bolt down while holding the adjuster cap at the same spot.

13.) Using a 4mm allen key, set the adjustable portion of the arm at about 45 degrees to start.
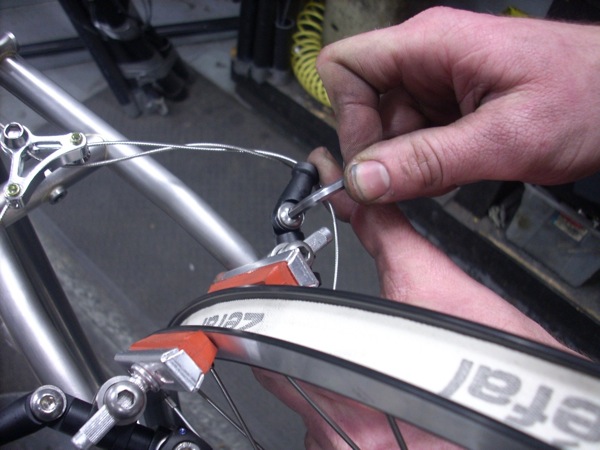
14.) The pad holder is keyed for a 5mm allen key so you can hold it in place. The 10mm nut on the back is what you tighten to lock the angle and pad height. Setting the front of the pad to hit before the back (like in the pictures) will reduce brake squeal.
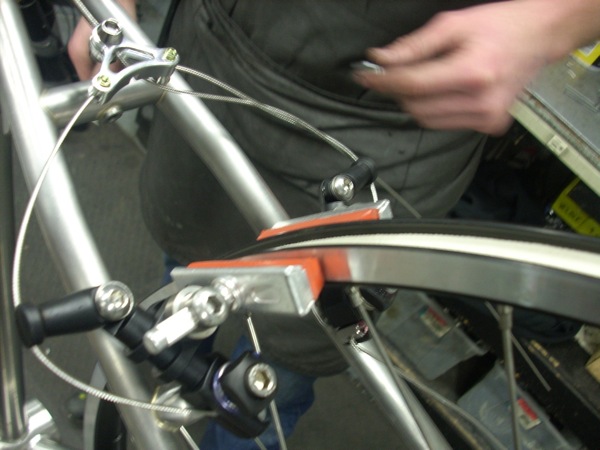
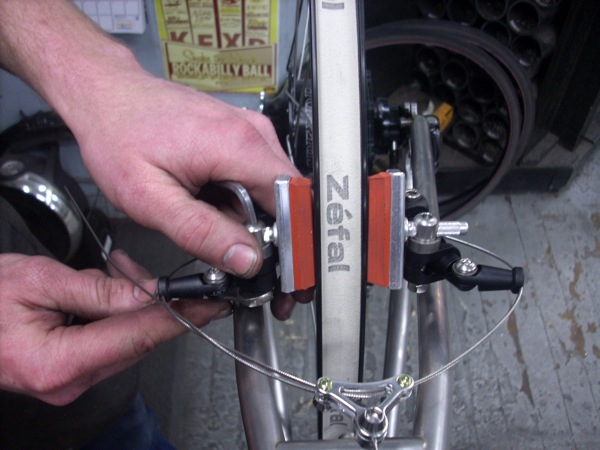
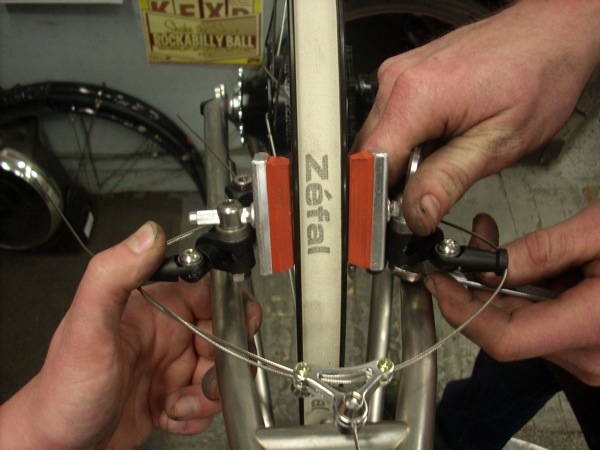
15.) Squeeze the cable around the arm to set the cable.
Go to Adjustment
Need more information? Contact us!
- Phone: (206)527-0360
- Come to the shop!
5627 University Way NE
Seattle, WA 98105

